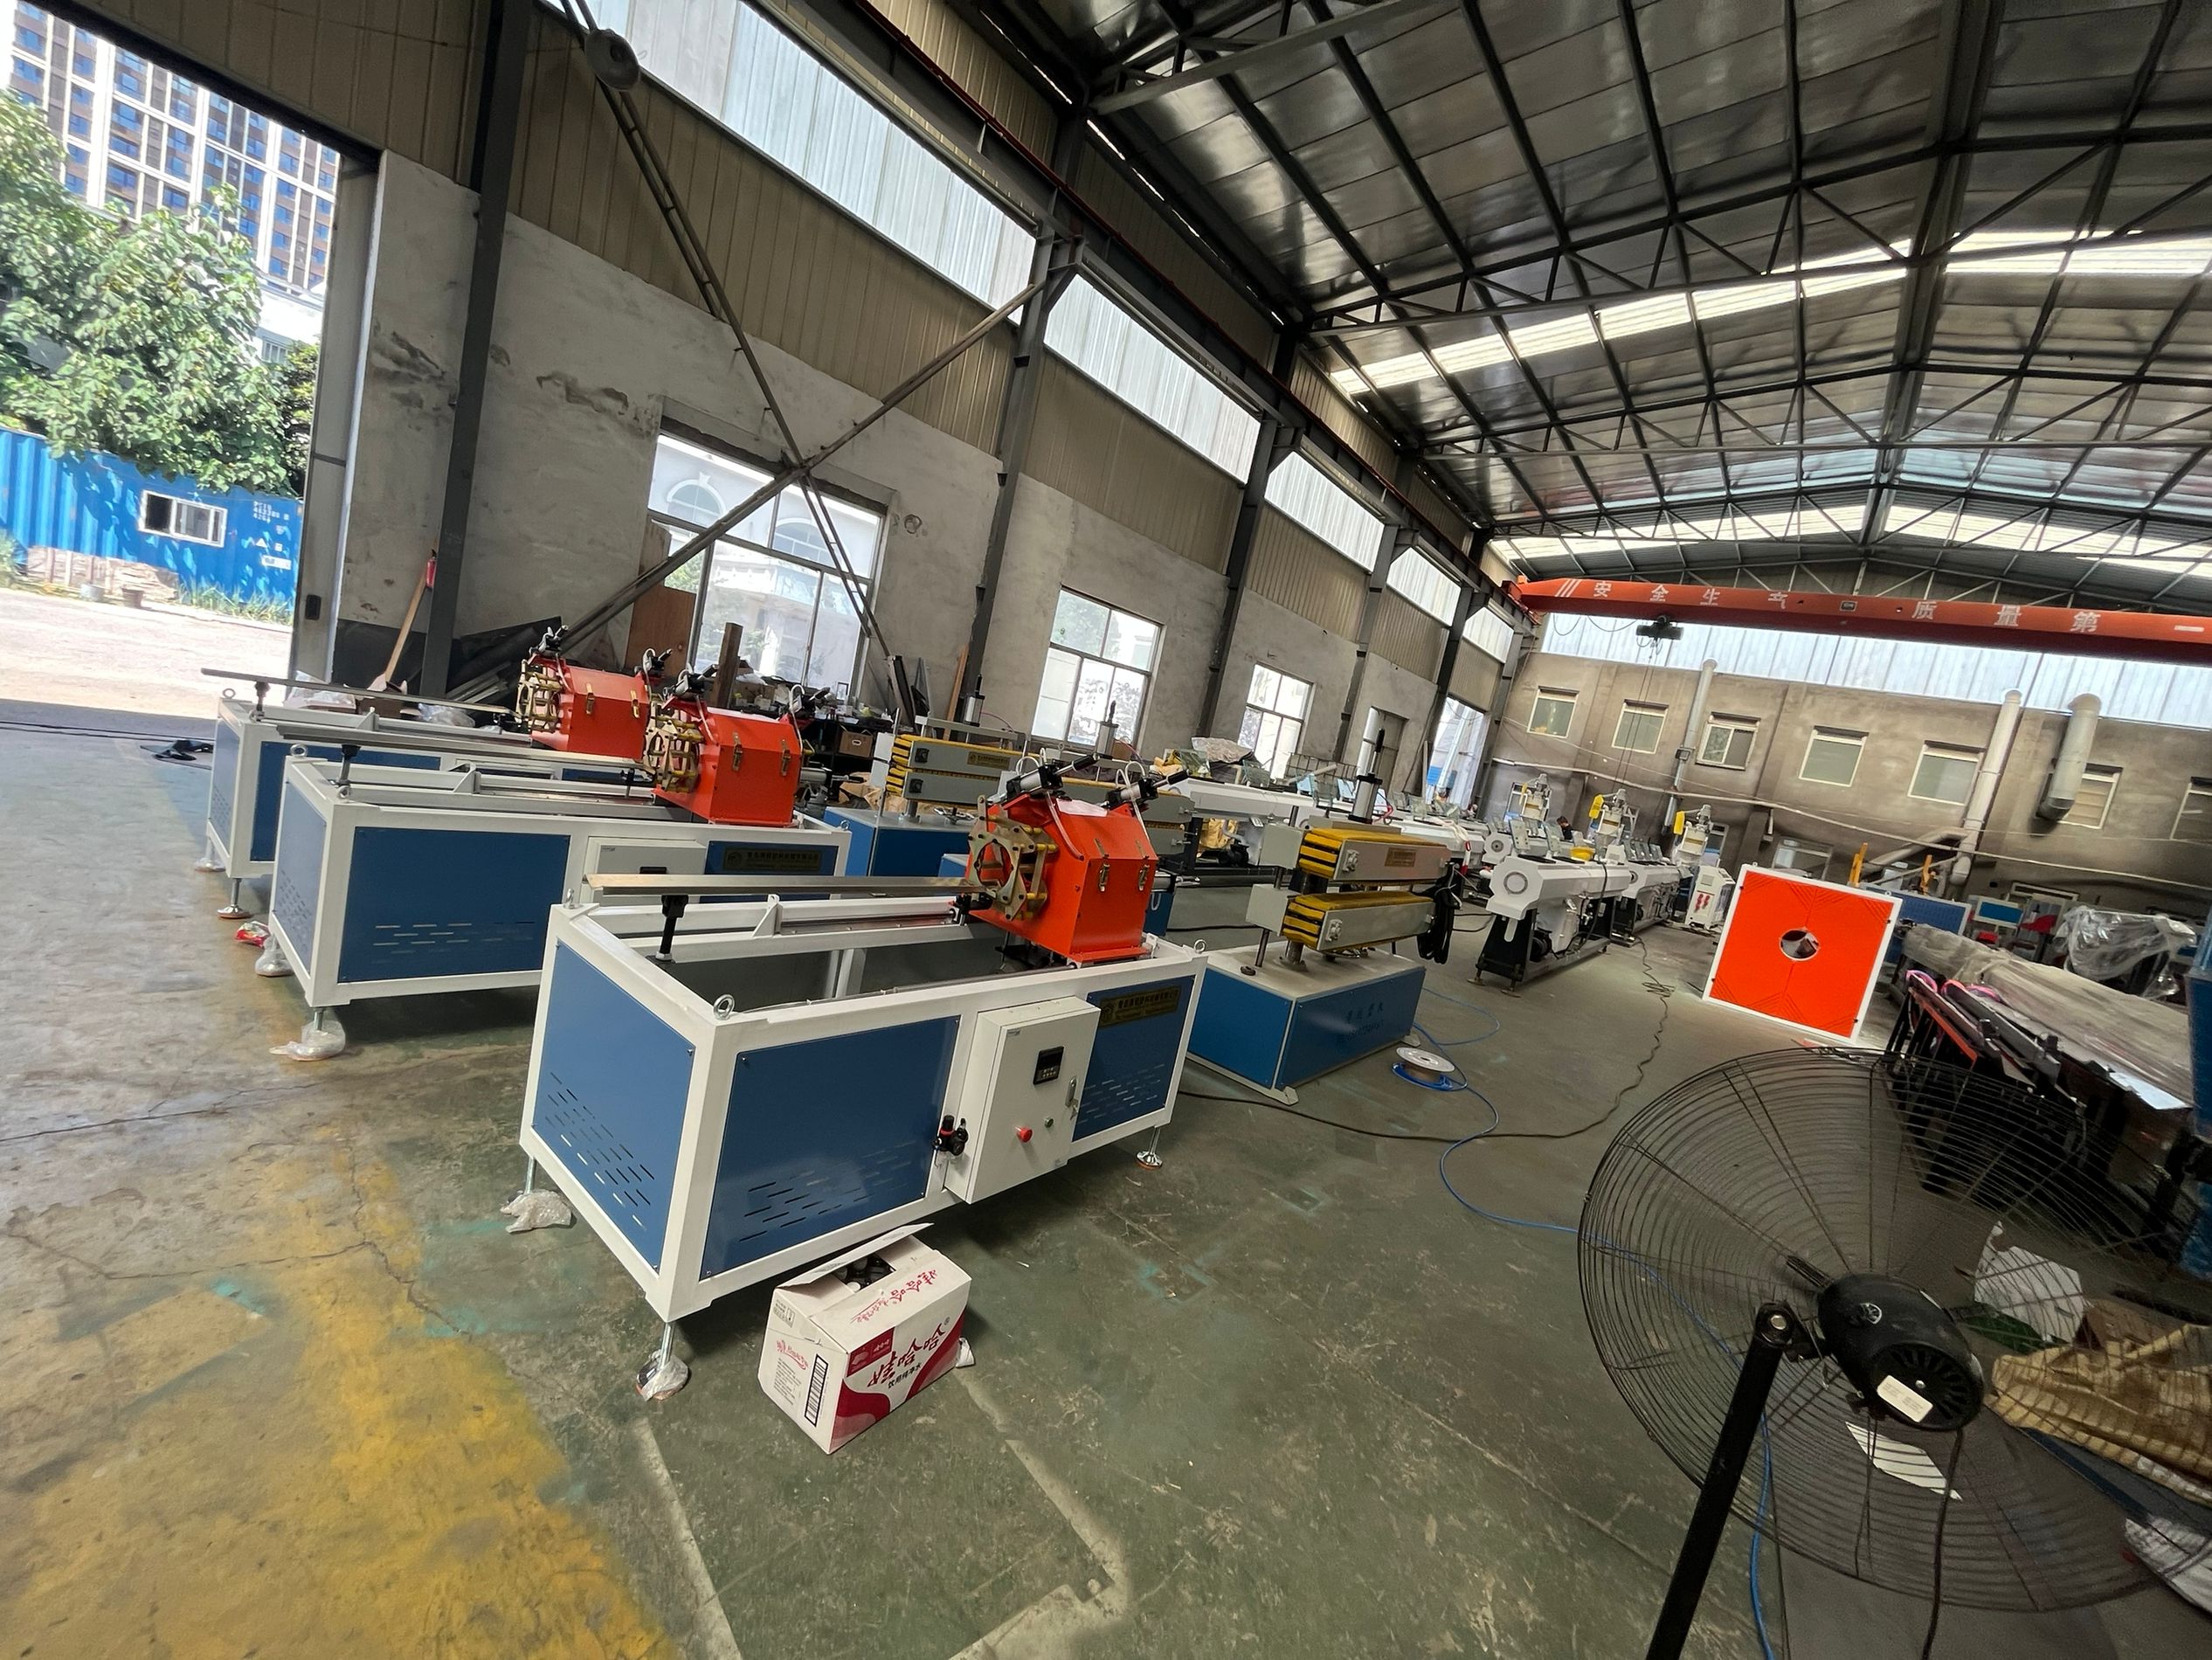
Preparation Before Startup of the PE pipe production line
Check the Production Line:
Inspect all devices on the production line for any abnormalities or foreign objects. Address issues promptly if found.Check Compatibility:
Ensure that the mold, sizing sleeve, clamps, water tank support wheels, vacuum tank support nylon plates, sealing rubber, and water-blocking rubber are consistent with the product specifications and meet production requirements.Adjust Equipment:
Verify that the tractor, cutting blades, and flipping table are adjusted to the appropriate positions according to the production specifications.Lubrication:
Check all parts requiring lubrication, especially the gearbox. Ensure the lubricant level is within the specified range.Cleaning and Organization:
Clear debris, cuttings, and foreign materials from the machine surfaces and clean the workspace.Set Heating Temperature:
Set the temperature for each section of the main machine and the color stripe machine according to process requirements. Heat the mold for 2 hours first, then heat the barrel. Once all heating zones reach the required temperature, maintain the temperature for 30 minutes.Material Preparation:
Accurately weigh the masterbatch as per the formula and mix it uniformly with the raw materials.Thread the Traction Pipe:
For large-diameter pipes, nylon ropes can be used for connection. Use pipes of the same specification or slightly smaller as traction pipes. Avoid using significantly smaller pipes to reduce startup waste.
Startup and Operation
Activate Cooling Systems:
Open the cooling water valves for the gearbox and heating covers of the main machine. Check that the pipelines are unobstructed and free of leaks.Preheat at Low Speed:
After the holding time is completed, start the main motor and rotate the screw at a low speed (about 5 rpm) until material extrudes from the die head. Ensure the material's hardness and softness meet the bonding requirements before proceeding to make the joint.Making the Joint:
Start the main machine at 5-10 rpm. When the extruded material reaches bonding quality, quickly apply high-temperature lubricant to the mandrel to prevent the material from sticking and affecting the inner pipe wall quality.
For large-diameter pipes, preheat the traction pipe end by contacting the die head mandrel for 5-10 minutes to facilitate bonding.
Stop the main machine quickly. Press the extruded material around the mandrel and begin retracting the traction pipe at a speed of 0.5-1.0 m/s. Once the pipe end is inserted into the extruded material, stop the traction machine immediately.
Perform necessary adjustments to the joint, wait 1-2 minutes, and then proceed with startup.
Startup Procedure:
First, start the main machine, then the tractor. Simultaneously turn on the vacuum tank spray water, vacuum pump, and sizing sleeve cooling water. Gradually increase the speed, monitoring the joint and extruded material conditions. Adjust the main machine and tractor speeds as needed.
If the joint enters the vacuum tank and the vacuum cannot be drawn in time, it indicates damage, tearing, or holes in the joint. Stop the machine immediately to avoid excessive waste. Recreate the startup joint and restart the machine.
Adjust Parameters:
Fine-tune the rotation speed and heating temperatures of each section to ensure optimal parameter matching.
Cooling Water Control for the Sizing Sleeve:
Ensure uniform water distribution around the circumference.
Adjust the cooling water volume to be moderate to avoid crawling issues during traction or reflective patches on the product surface.
Monitor Product Quality:
Continuously observe the product’s appearance for issues like diameter size, roundness, wall thickness uniformity, plasticization, surface smoothness, length, and pipe ends. Make micro-adjustments as needed to ensure quality.
Monitor System Parameters:
Pay attention to changes in the main machine’s current, screw torque, melt pressure, and temperature displayed on the screen.
Parameter Setting:
Do not arbitrarily change the coefficient settings of the relevant parameters.
Record Keeping:
Strictly follow the operation recording system and the shift handover protocol.
Power Interruption Protocol:
In case of a sudden power outage, regardless of the duration, once power is restored, reheat the system to the set temperature and hold it appropriately before restarting. Extrude at a slow speed initially.
Key Parameter Values:
Tractor pressure: ≥0.3 MPa
Vacuum degree: Typically -0.02 to -0.07 MPa
Water tank temperature: Generally set between 20-45°C. For thicker walls or higher traction speeds, set closer to the lower temperature range.
Welcome to contact us for more information about the machine.
Whatsapp:+8618561633106


